


 English
 日本語
日本語 русский
 عربى
عربى
Home / News / Industry News / Choosing a Metal Dish Rack and Drying Vegetables with a Counter Storage Rack
Industry News
A metal dish rack is an essential component of a functional kitchen, offering a reliable space for drying dishes while maintaining cleanliness and order. Choosing the right metal dish rack involves a balance of design, material quality, and practical features that suit your kitchen's layout and your household's needs.
When selecting a metal dish rack, start by considering size and capacity. It should comfortably fit the volume of dishes typically washed in one session. A compact rack may be sufficient for small households, while families might require multi-tiered versions to accommodate a higher load.
Material is a key consideration. Stainless steel is commonly used for metal dish racks due to its rust resistance and long-term durability. It holds up well in moist environments and is easy to clean. Powder-coated steel racks are another option, providing a smooth finish and additional protection against corrosion.
Design features also enhance usability. Look for racks with removable trays for easy drainage, slots for organizing plates, and side holders for cutlery or glasses. Some models include angled trays that direct water into the sink, preventing countertop puddles.
To use a metal dish rack efficiently, position it near the sink for easy access. After washing, place items in an organized manner—plates in upright slots, cups upside-down, and cutlery separated for better air flow. Regularly clean the rack and tray to prevent mineral buildup or mold.
A well-chosen metal dish rack contributes not only to kitchen hygiene but also to a smoother post-meal routine. With the right model and thoughtful use, it can serve as a dependable tool in maintaining daily efficiency.
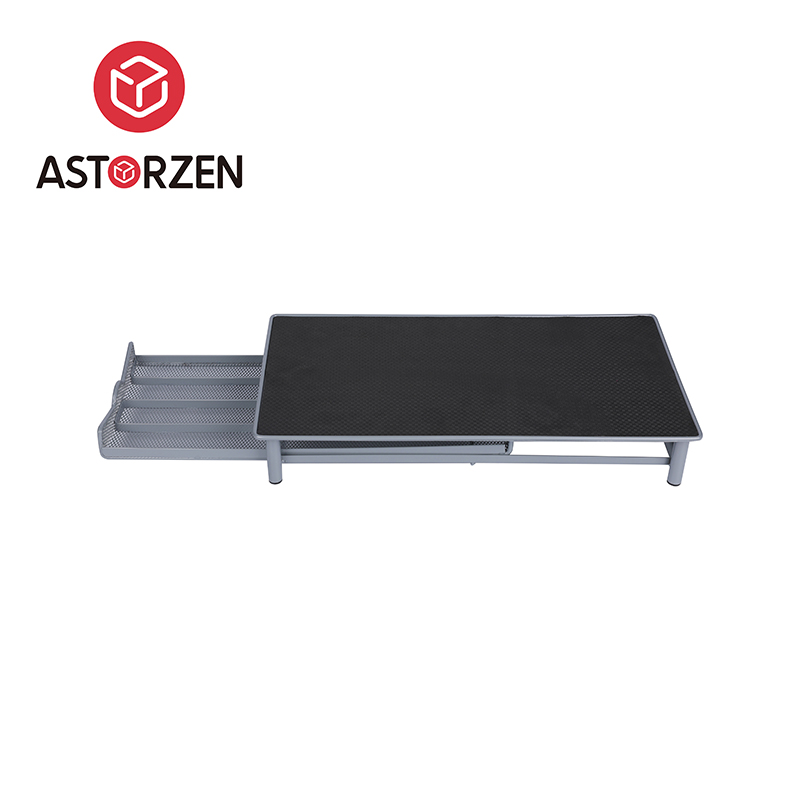
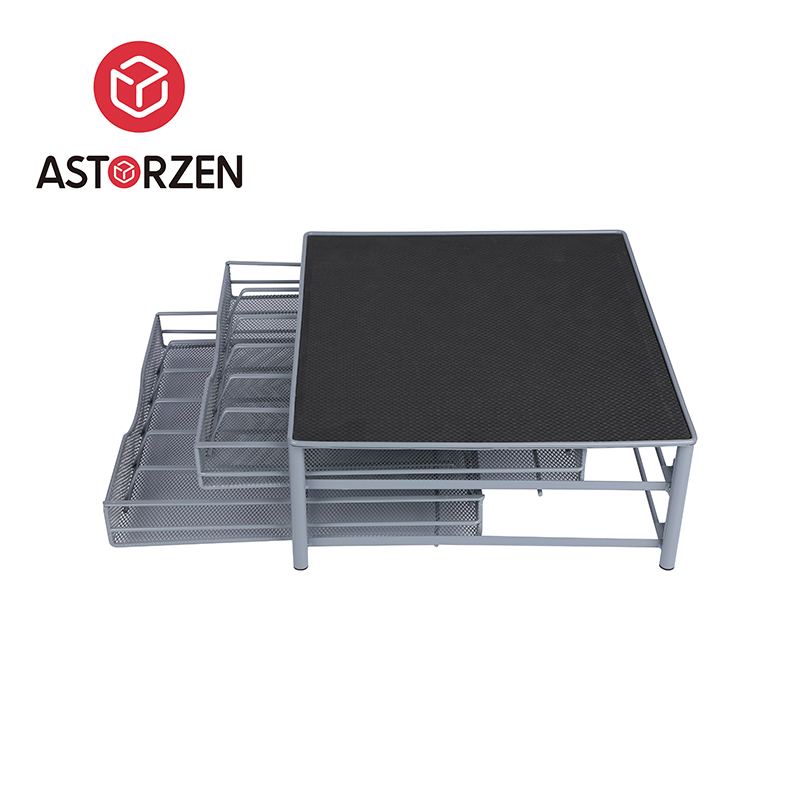
Kitchen Counter Vegetable Storage Rack: A Step-by-Step Guide to Proper Drying Techniques
The kitchen counter vegetable storage rack is a versatile tool that not only keeps produce organized but can also serve as a drying station after washing fruits and vegetables. Proper drying is essential to prolong shelf life, prevent spoilage, and maintain hygiene. Using your storage rack effectively requires a few practical steps.
Step 1: Initial Cleaning
Before drying vegetables, rinse them thoroughly under cool, running water to remove soil, pesticides, or residues. Avoid soaking unless necessary, as excess moisture can encourage bacteria growth. Use a vegetable brush for items like carrots or potatoes with rough skins.
Step 2: Shake Off Excess Water
After rinsing, gently shake each vegetable to remove surface water. This step reduces drying time and minimizes dripping onto the countertop or other produce.
Step 3: Use a Clean Cloth or Paper Towel
Lightly pat vegetables with a lint-free cloth or paper towel to absorb remaining moisture. For leafy greens, consider using a salad spinner beforehand to eliminate excess water effectively.
Step 4: Arrange on the Storage Rack
Place vegetables on the kitchen counter vegetable storage rack in a single layer with enough space between items for air circulation. Avoid stacking, as trapped moisture can cause mold or wilting. Mesh or open-wire racks are ideal for promoting even airflow.
Step 5: Allow Time to Air Dry
Let the vegetables sit on the rack for 15–30 minutes or until completely dry. Ensure the area is clean and away from direct heat or strong sunlight, which can degrade freshness.
Step 6: Store Appropriately
Once dry, transfer produce to proper storage—either back on the rack for items like onions or into refrigerated containers for greens and herbs.


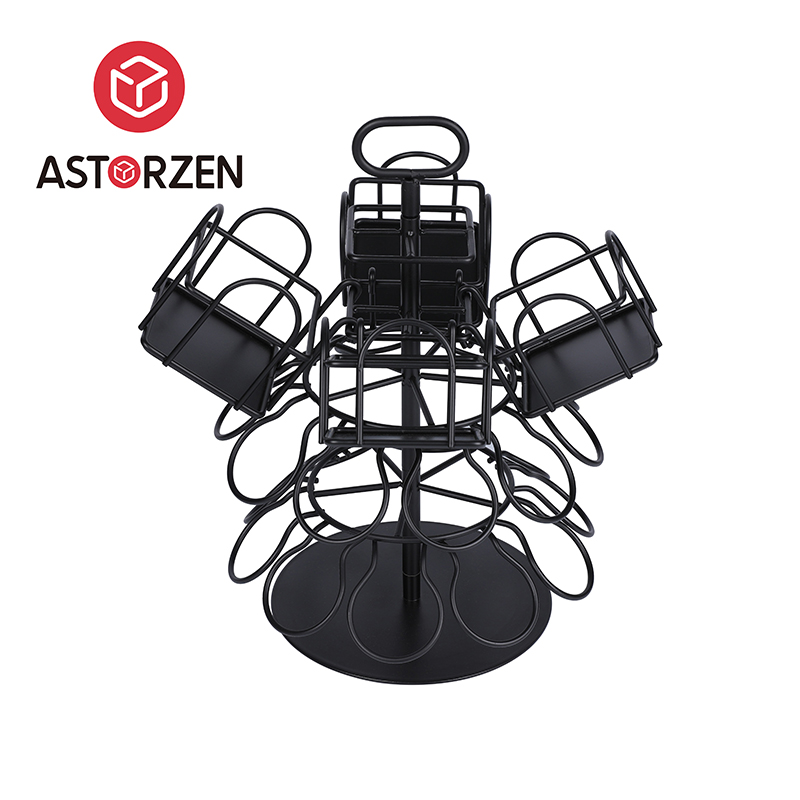 Large Capacity Top-Standing Rotatable Beverage And Coffee Storage Rack
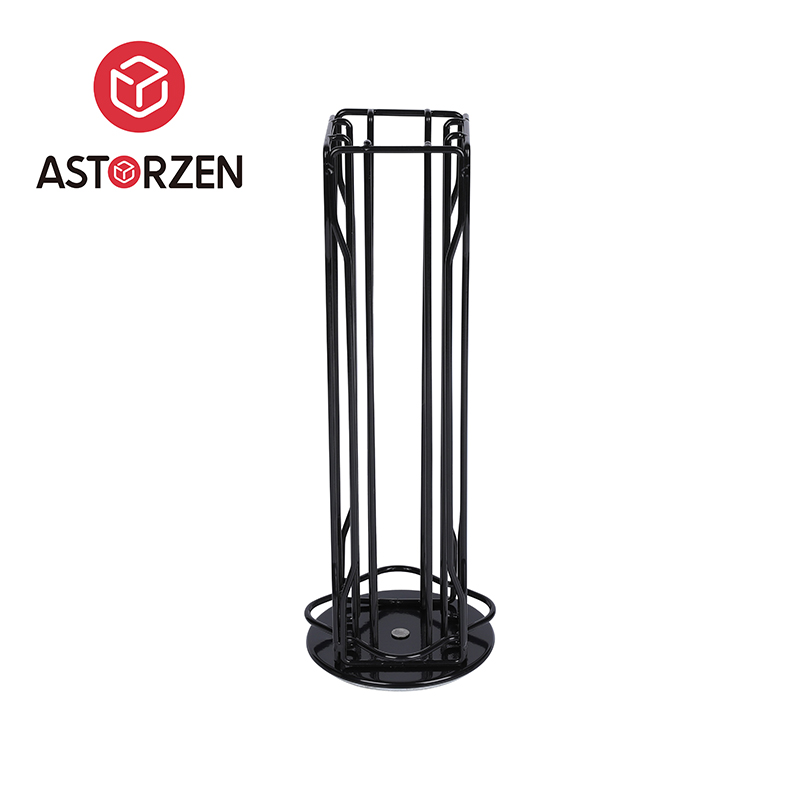 Living Room Vertical Stable Floor Stand Storage Rack for Coffee Capsules
 Commercial Vertical Rotatable Coffee Capsule Storage Rack
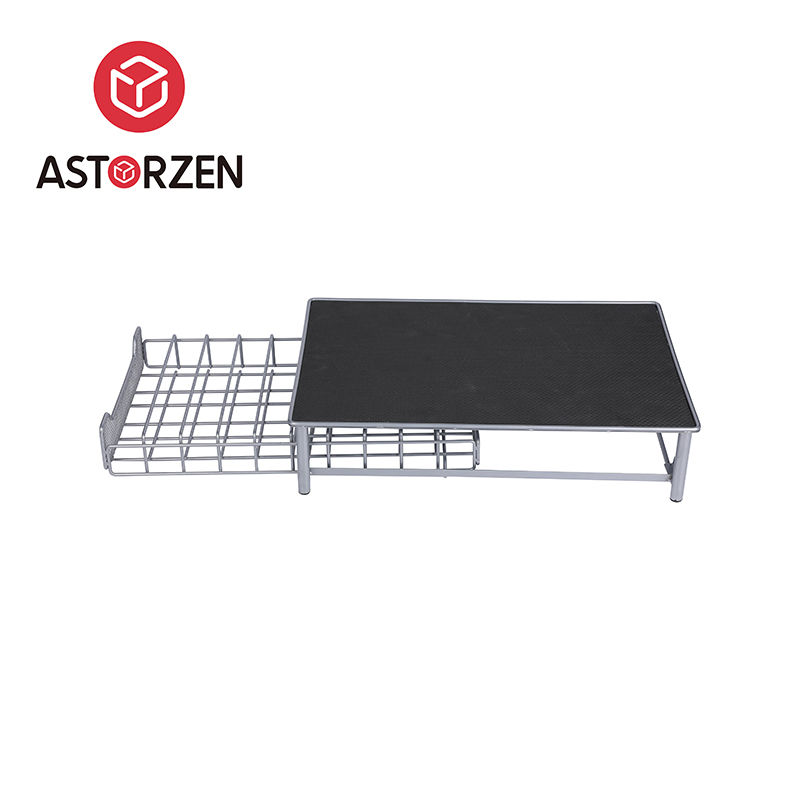 Modern Steel Storage Rack with Pull-Out Drawer for Coffee Capsules
 Fashionable Home Desktop Coffee Capsule Storage Drawer
 Desktop 2-Tier Coffee Capsule Placement Drawer
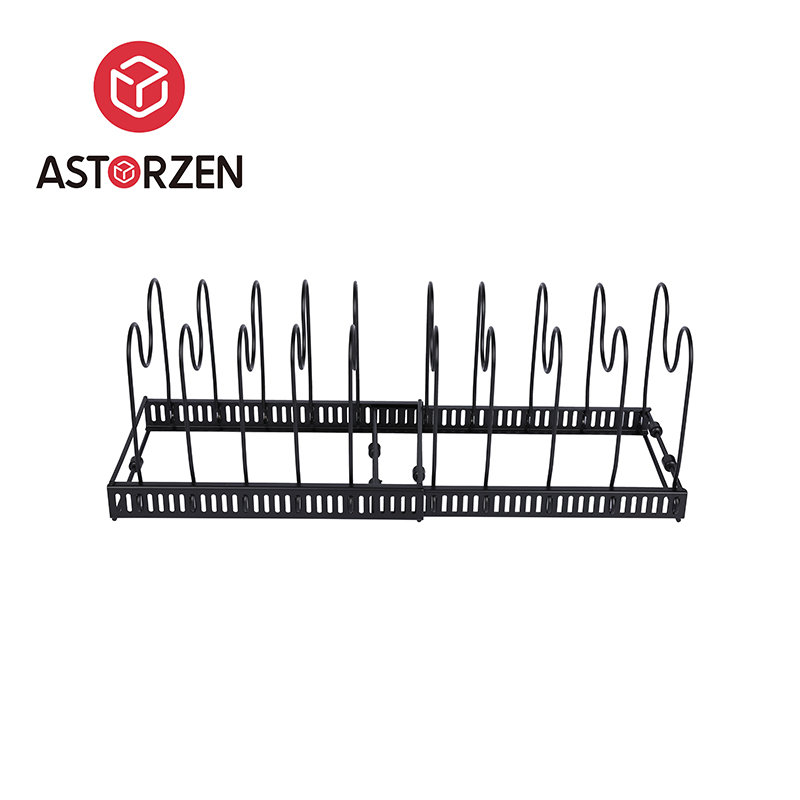 Adjustable Luxury Scalable Pot Rack Bowl Storage Rack
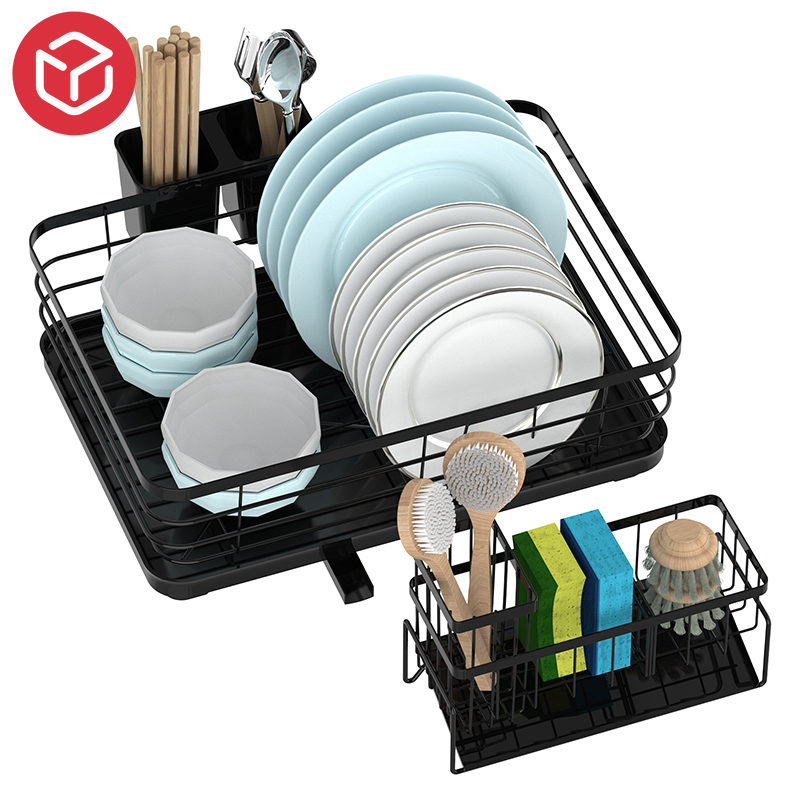
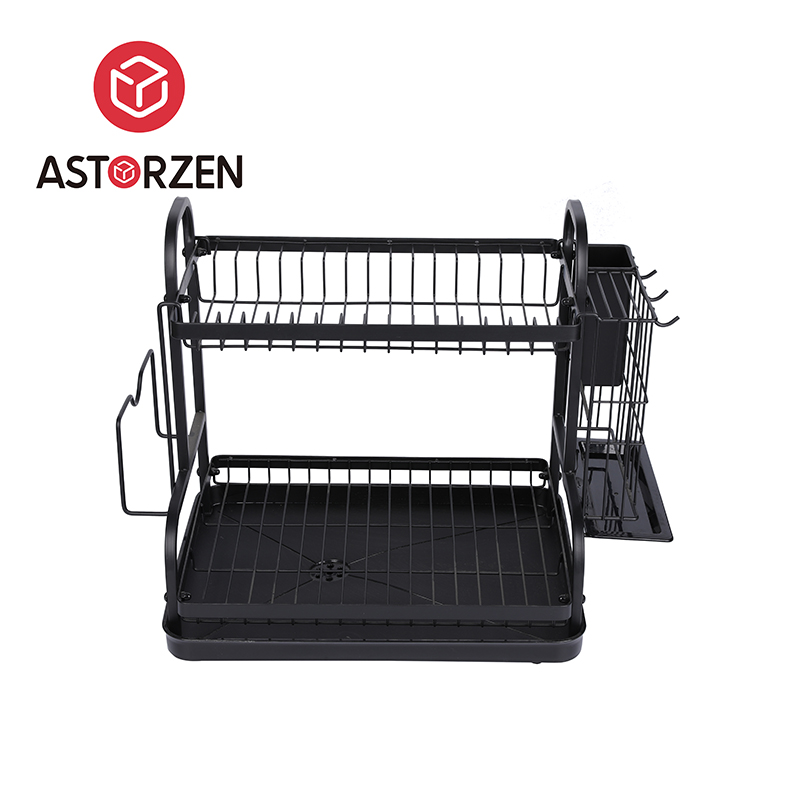 Multi-functional Metal Double-layer Dish And Bowl Draining Basket
Copyright 2025 Zhejiang Yacheng Industry and Trade Co., Ltd. All Rights Reserved.

