English
 日本語
日本語 русский
 عربى
عربىIndustry News
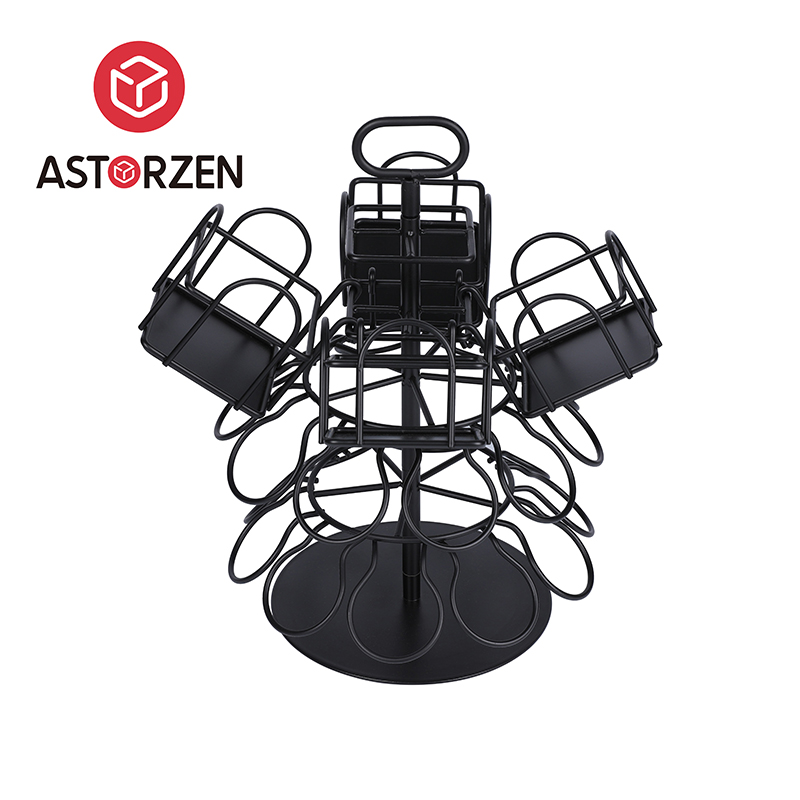
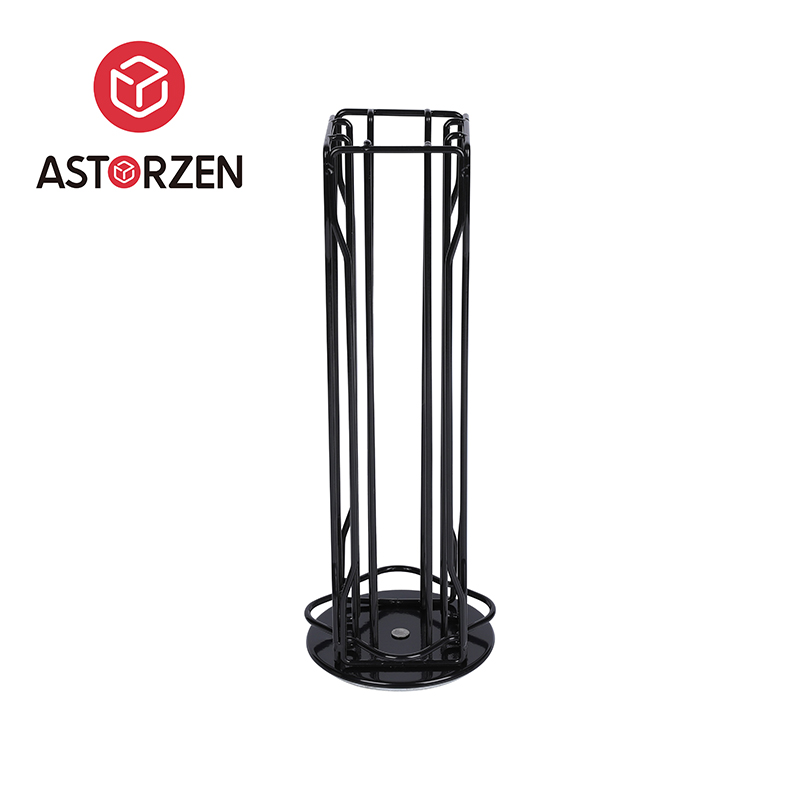
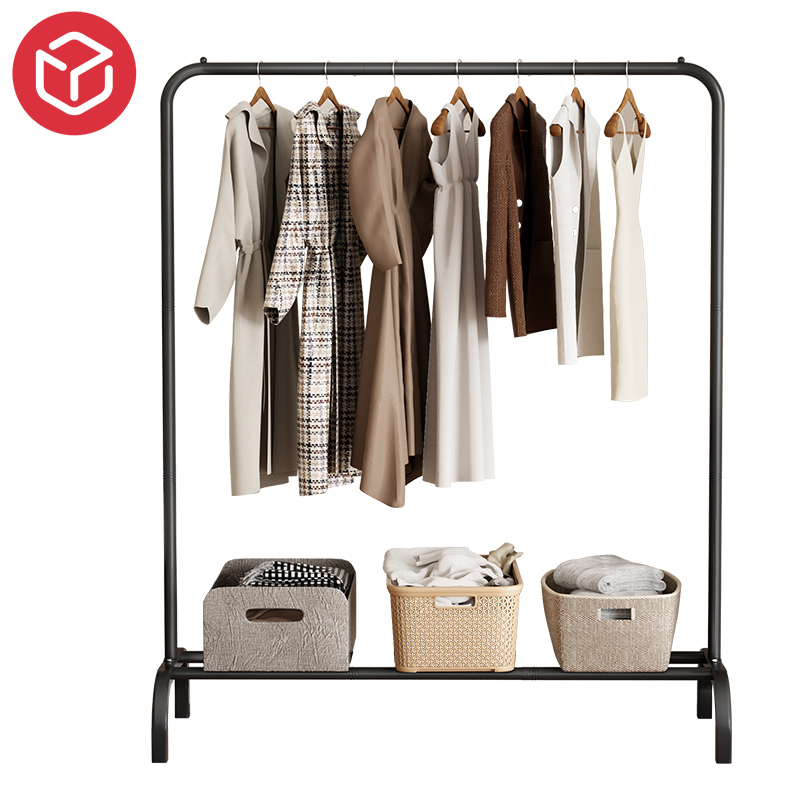
A cloth drying stand is valued for its mobility, simplicity, and utility. Whether you live in a small apartment or a larger home, assembling and maintaining this piece of equipment is both manageable and worthwhile.
Assembly Steps
Many cloth drying stands are designed to be user-friendly and require no specialized tools for setup. The step is to unpack the components and identify all parts: base legs, vertical supports, and horizontal rods. Many modern stands come with snap-fit joints or folding arms for quick assembly. Begin by securing the base to provide stability. Then attach the vertical supports, followed by connecting the drying rods or wings, depending on the model. Some stands also feature locking mechanisms to keep parts firmly in place during use.
Adjustable models allow users to configure height and spacing to accommodate different types of clothing—from towels to delicate fabrics. Lightweight yet durable materials such as powder-coated aluminum or stainless steel are commonly used, offering a balance between portability and strength.
Maintenance Tips
To maintain functionality, regular cleaning is recommended. Dust and moisture can build up on joints and rods, so wiping the stand with a damp cloth followed by drying it thoroughly helps prevent corrosion. For metal stands, check for rust or weak joints periodically, especially in foldable parts. If your stand has plastic fittings, avoid excessive exposure to direct sunlight, which can cause brittleness over time.
When not in use, store the drying stand in a dry and shaded area. Foldable models can be placed in closets or behind doors without occupying significant space. With proper care, a high-quality cloth drying stand can last several years without significant wear.
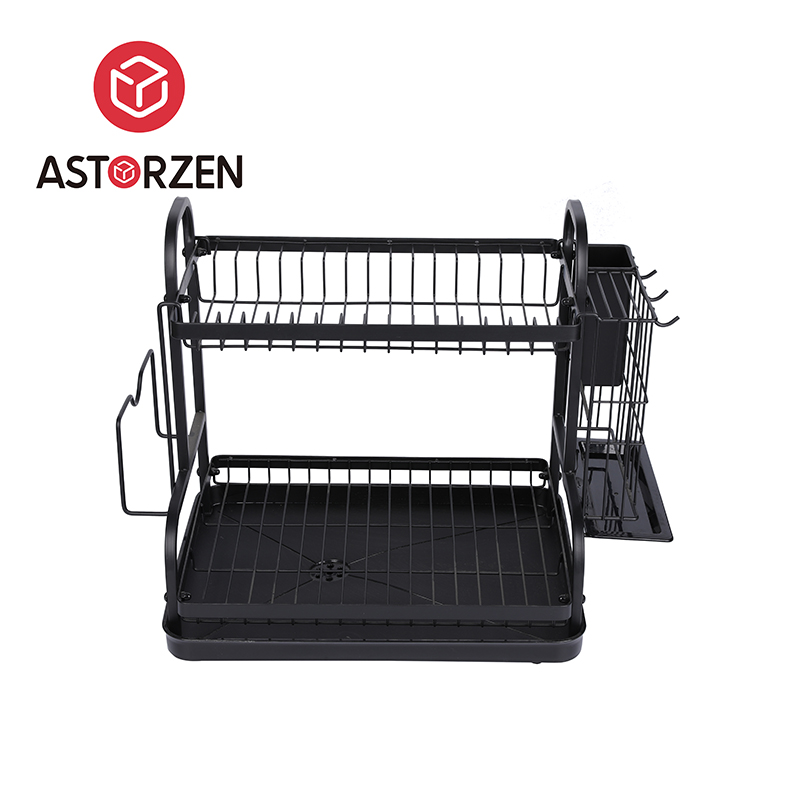
The indoor metal clothes drying rack has a rich history rooted in domestic necessity. From basic wall-mounted frames to today's innovative, multi-tier designs, these racks have undergone notable transformations driven by changes in household needs and material technology.
Early Designs and Materials
Initially, indoor drying racks were simple wooden frames with horizontal bars, typically mounted near fireplaces or windows to take advantage of heat and ventilation. As living spaces became more compact and indoor drying more common, the need for more durable and space-efficient solutions emerged. This shift brought metal into the picture. Early metal racks were often made from iron or steel and designed for durability, though their designs remained rudimentary.
Advancements in Structure and Function
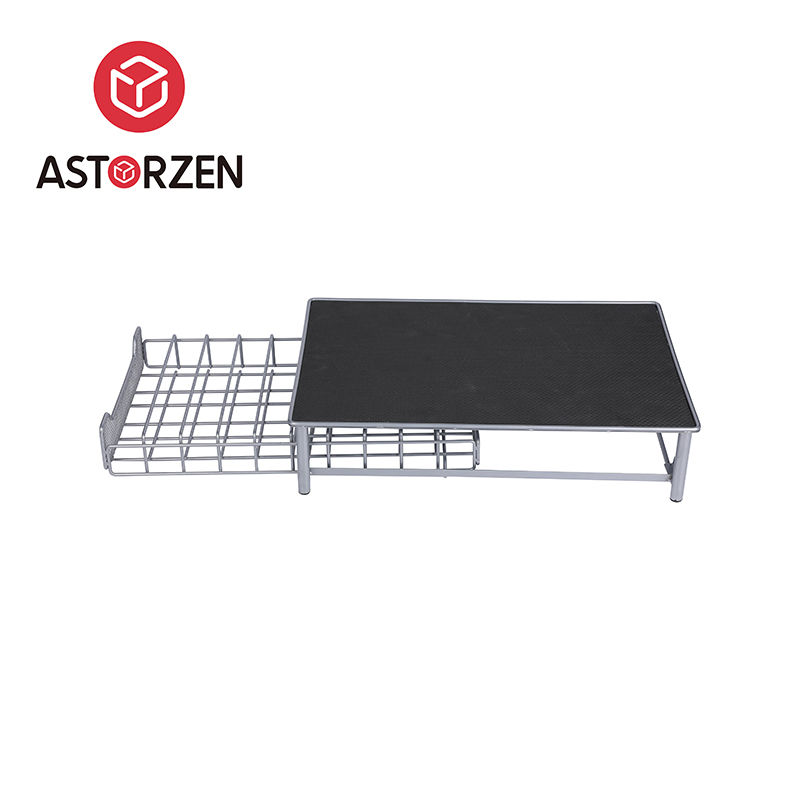
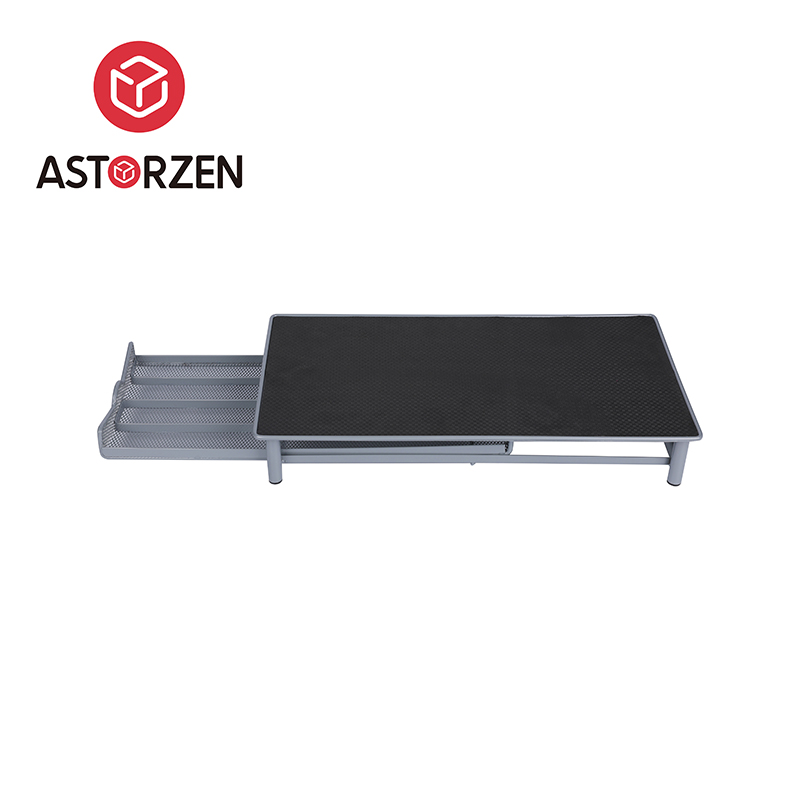
The introduction of lightweight metals like aluminum revolutionized indoor drying racks. Aluminum offered a corrosion-resistant, lightweight alternative to heavier iron-based models, making racks easier to move and store. Modern iterations also incorporated foldable and extendable components, allowing users to customize drying space according to laundry volume and available room.
The structural designs improved as well. Multi-tier configurations, vertical stackability, and winged arms became common features. These enhancements allowed for better air circulation, quicker drying, and accommodation of more garments in a limited area.
Material Innovation and Aesthetic Integration
Over time, manufacturers began to focus not just on functionality but also on aesthetics and environmental sustainability. Powder-coated finishes, sleek metallic tones, and minimalistic designs allow modern drying racks to blend seamlessly into contemporary interiors. Stainless steel has become a material of choice for its anti-rust properties, strength, and visual appeal. Some advanced models even include silicone feet to prevent slipping and scuffing on floors, a nod to attention to detail and user safety.